The biggest hurdle with new planning software is rarely the price or the functionality. It is the
thought of setup: the idea that weeks of data have to be moved before anything works.
In practice that turns out to be modest, because most of the work happens per type of work rather
than per client. Below are the four steps from trial to a filled monthly and annual planning, with
what each step needs and roughly how long it takes.
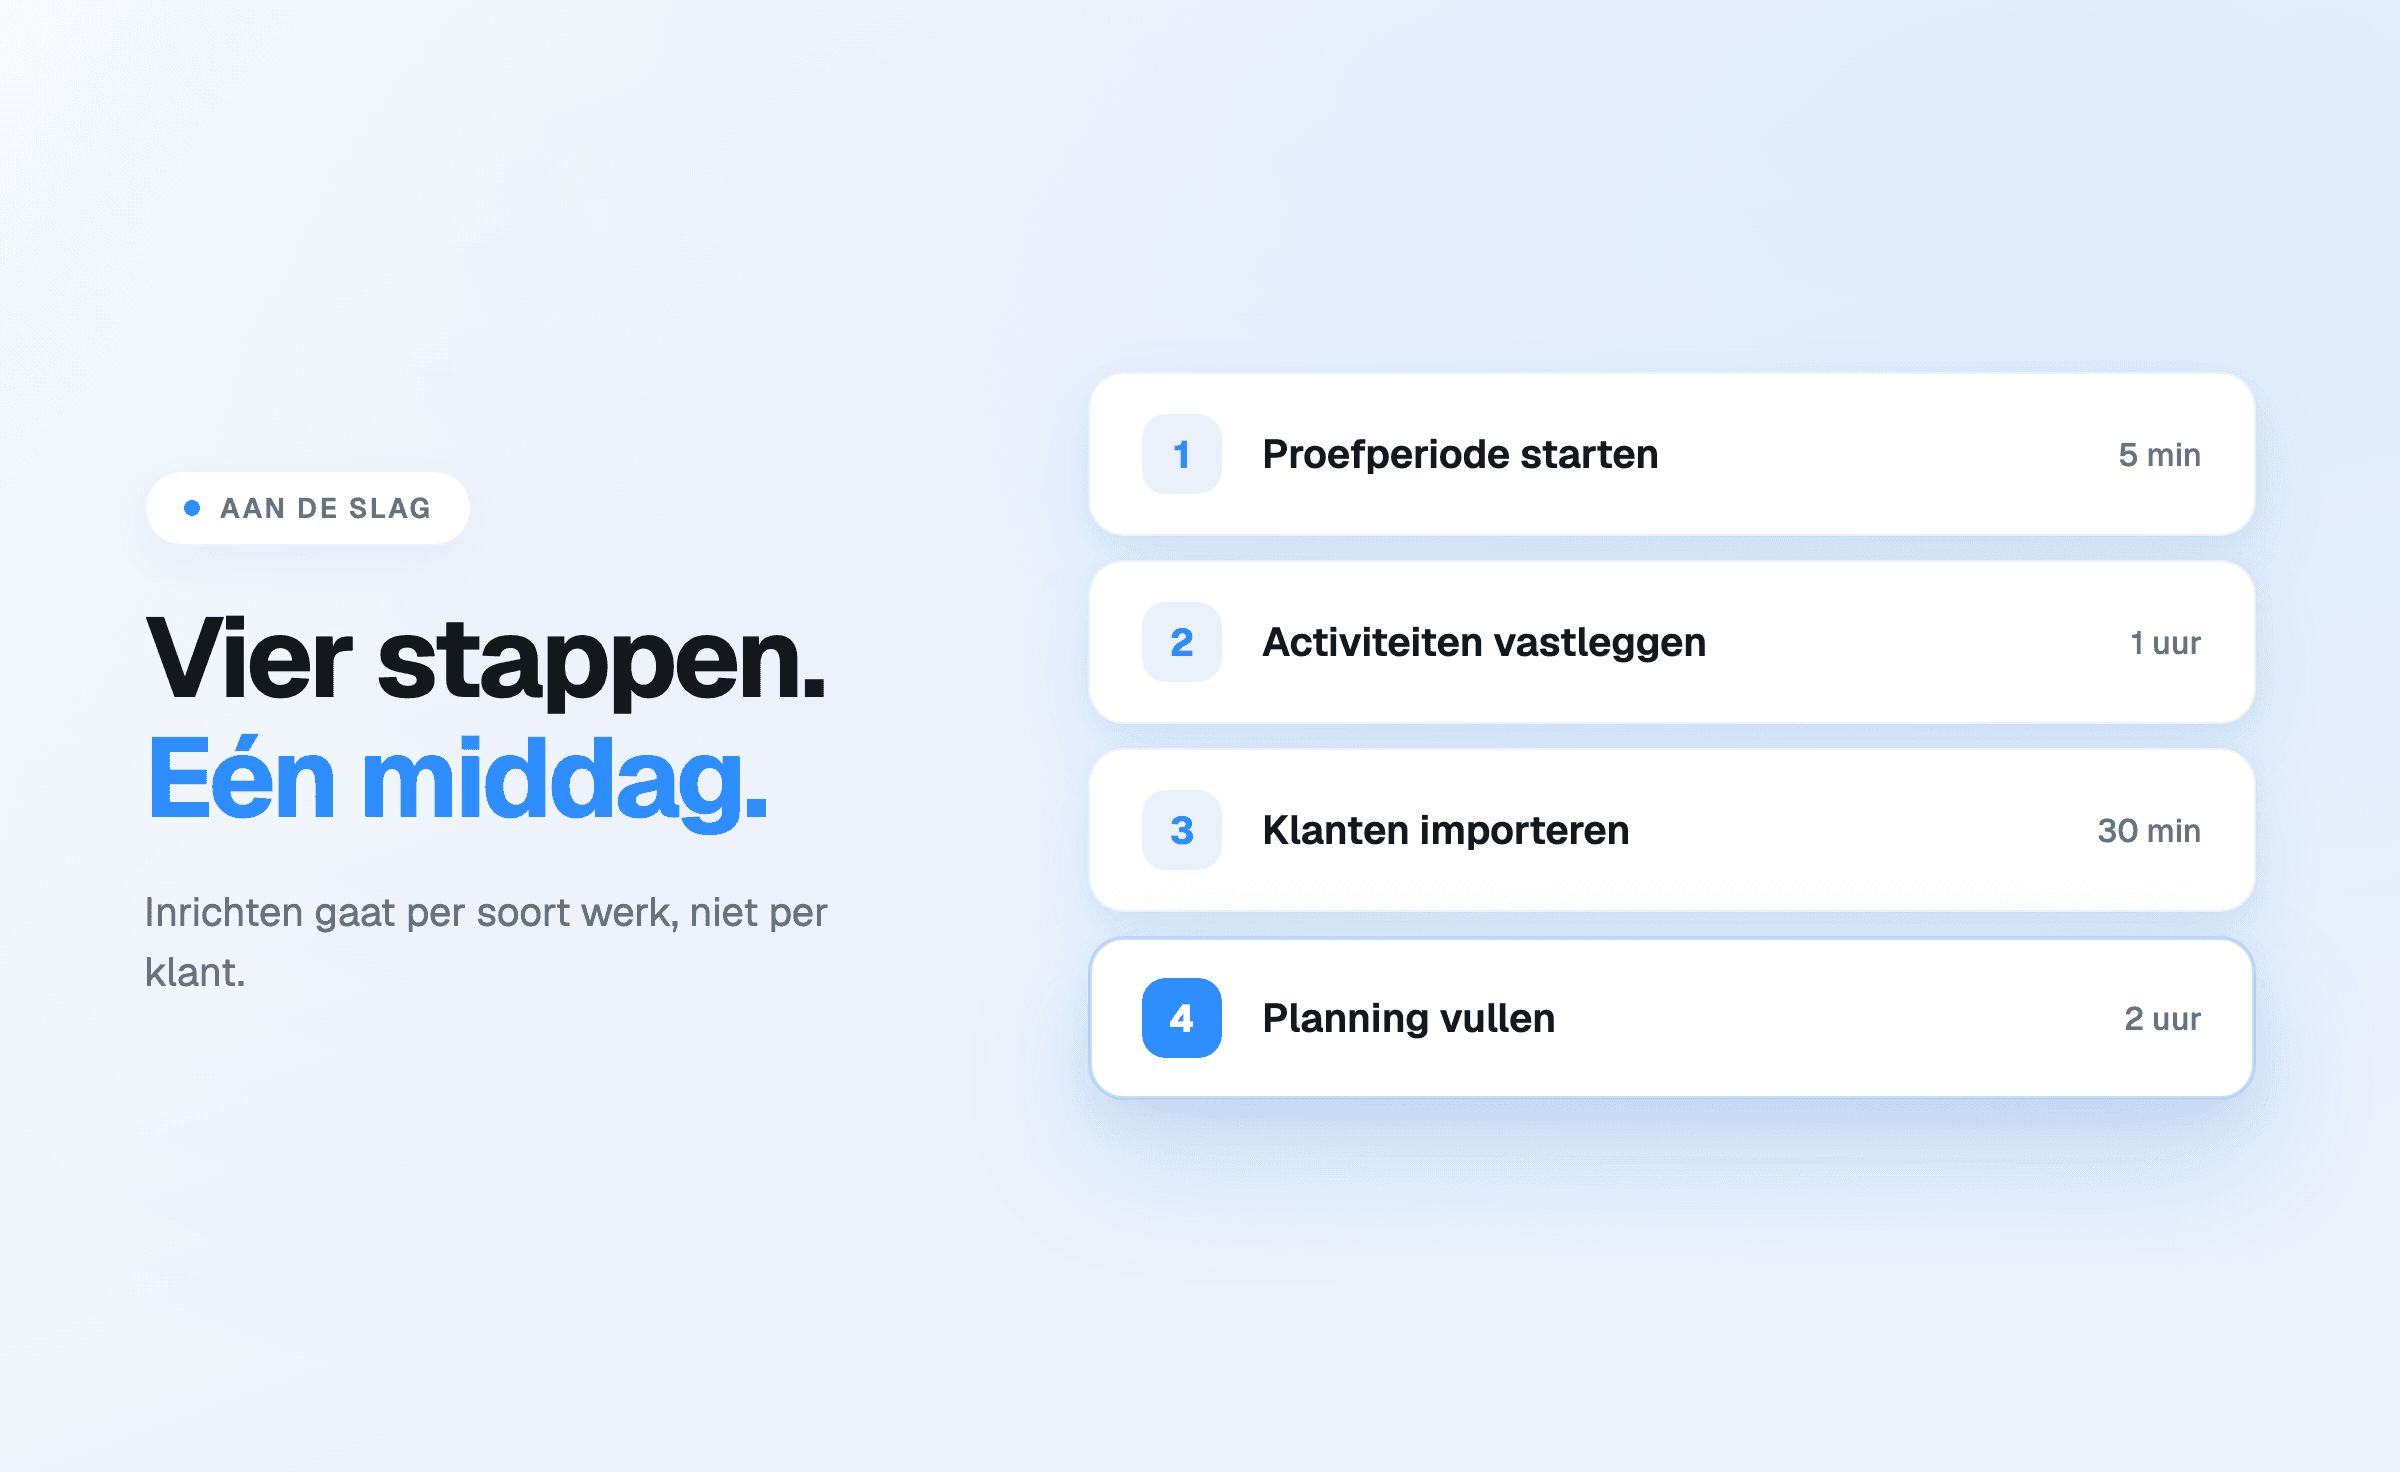
Step 1 — Start the trial
Signing up takes a few minutes and gives 14 days of access, without
payment details and without obligation. The environment is filled with demo data automatically, so there is something to
look at straight away: a populated planning shows what a firm gets out of it faster than an empty screen.
Needed: an email address. Time: a few minutes.
Step 2 — Configure the environment
The demo data can be removed in one action once the first impression has been formed. What remains
is the standard structure for monthly and annual planning: the layout most firms work with, as a
starting point instead of an empty grid.
This is the moment for the only substantive decision in the whole setup: which types of work recur
at this firm, and at what frequency. VAT per quarter, payroll returns per month, year-end per year,
plus whatever is specific to the firm. That list is usually shorter than expected — ten to fifteen
activities cover the majority of the work.
Needed: an overview of the recurring activities. Time: half an hour to an hour.
Step 3 — Import client data
The client list comes in through an import from Excel or CSV. The structure of that file does not
matter: per column it is specified which detail it holds and whether it should be included. An
existing planning spreadsheet is therefore almost always usable as a source.
After that it is worth linking the KVK number per client, so the basic details stay
current by themselves — how that works is described in the KVK connection.
Needed: an export of the client list. Time: fifteen to thirty minutes.
Step 4 — Fill the monthly and annual planning
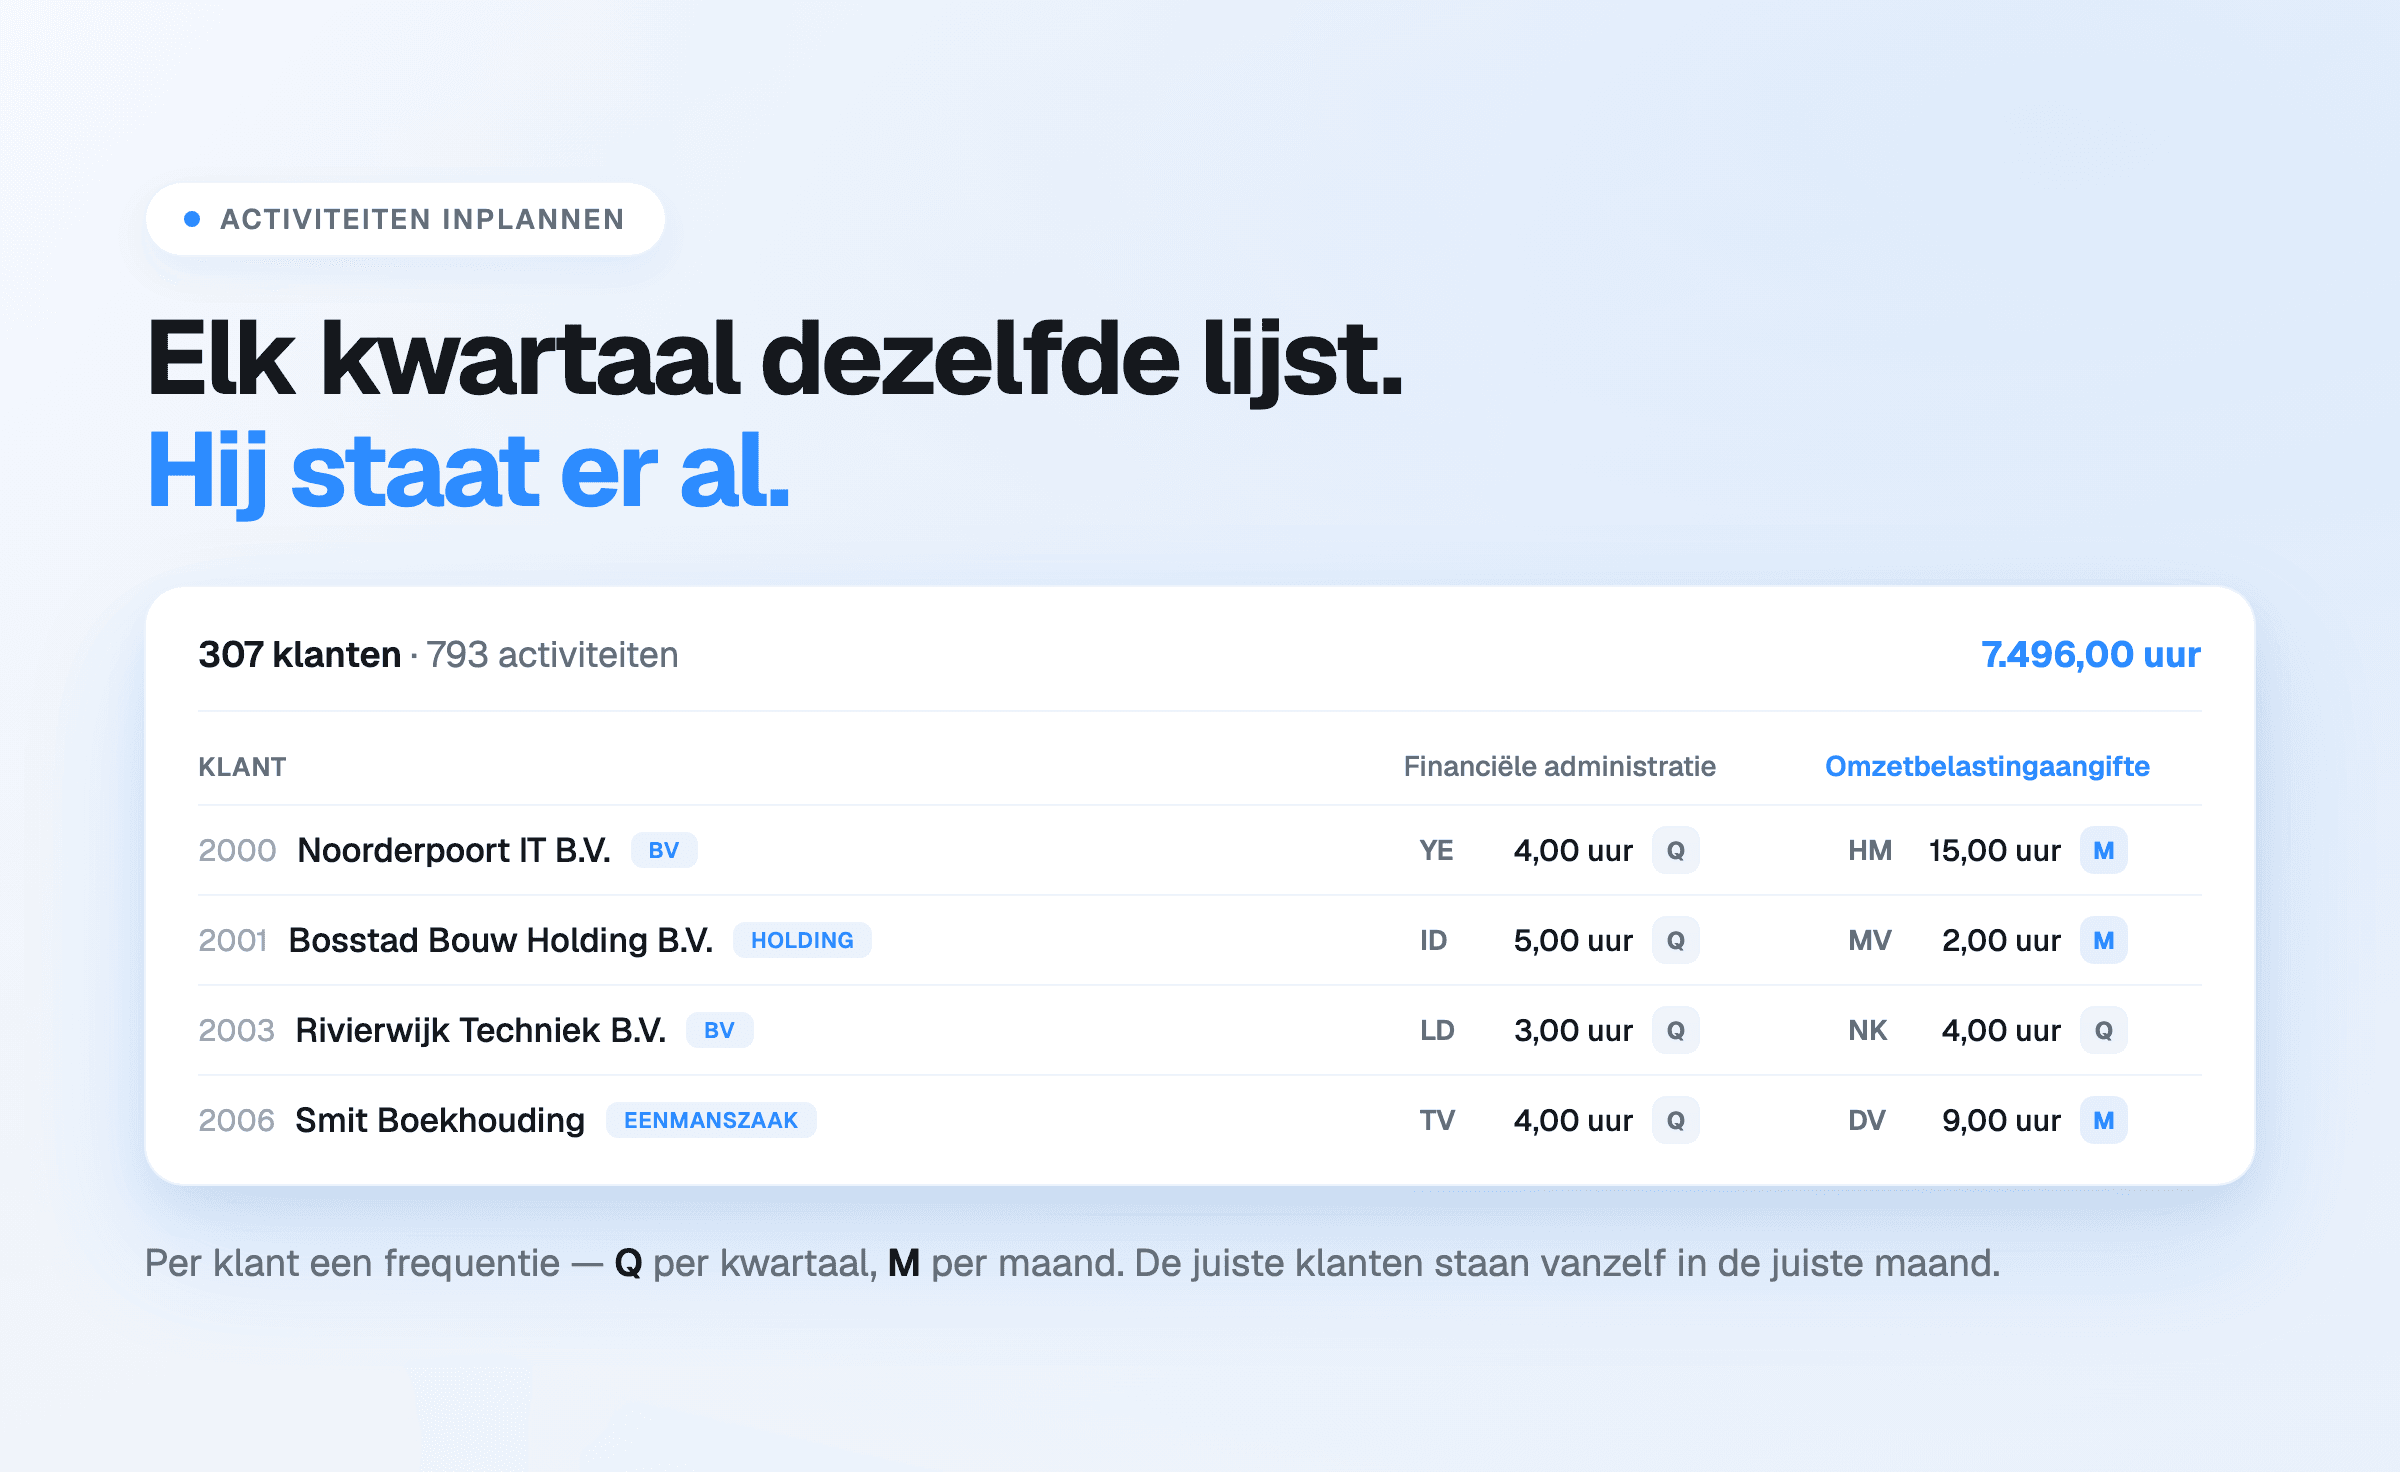
The clients are in and the activities are known; what remains is connecting the two. That happens
in bulk from the settings, where several activities can be selected at once using the SHIFT or CTRL
key.
- In the monthly planning, an activity gets a frequency, for example monthly or quarterly.
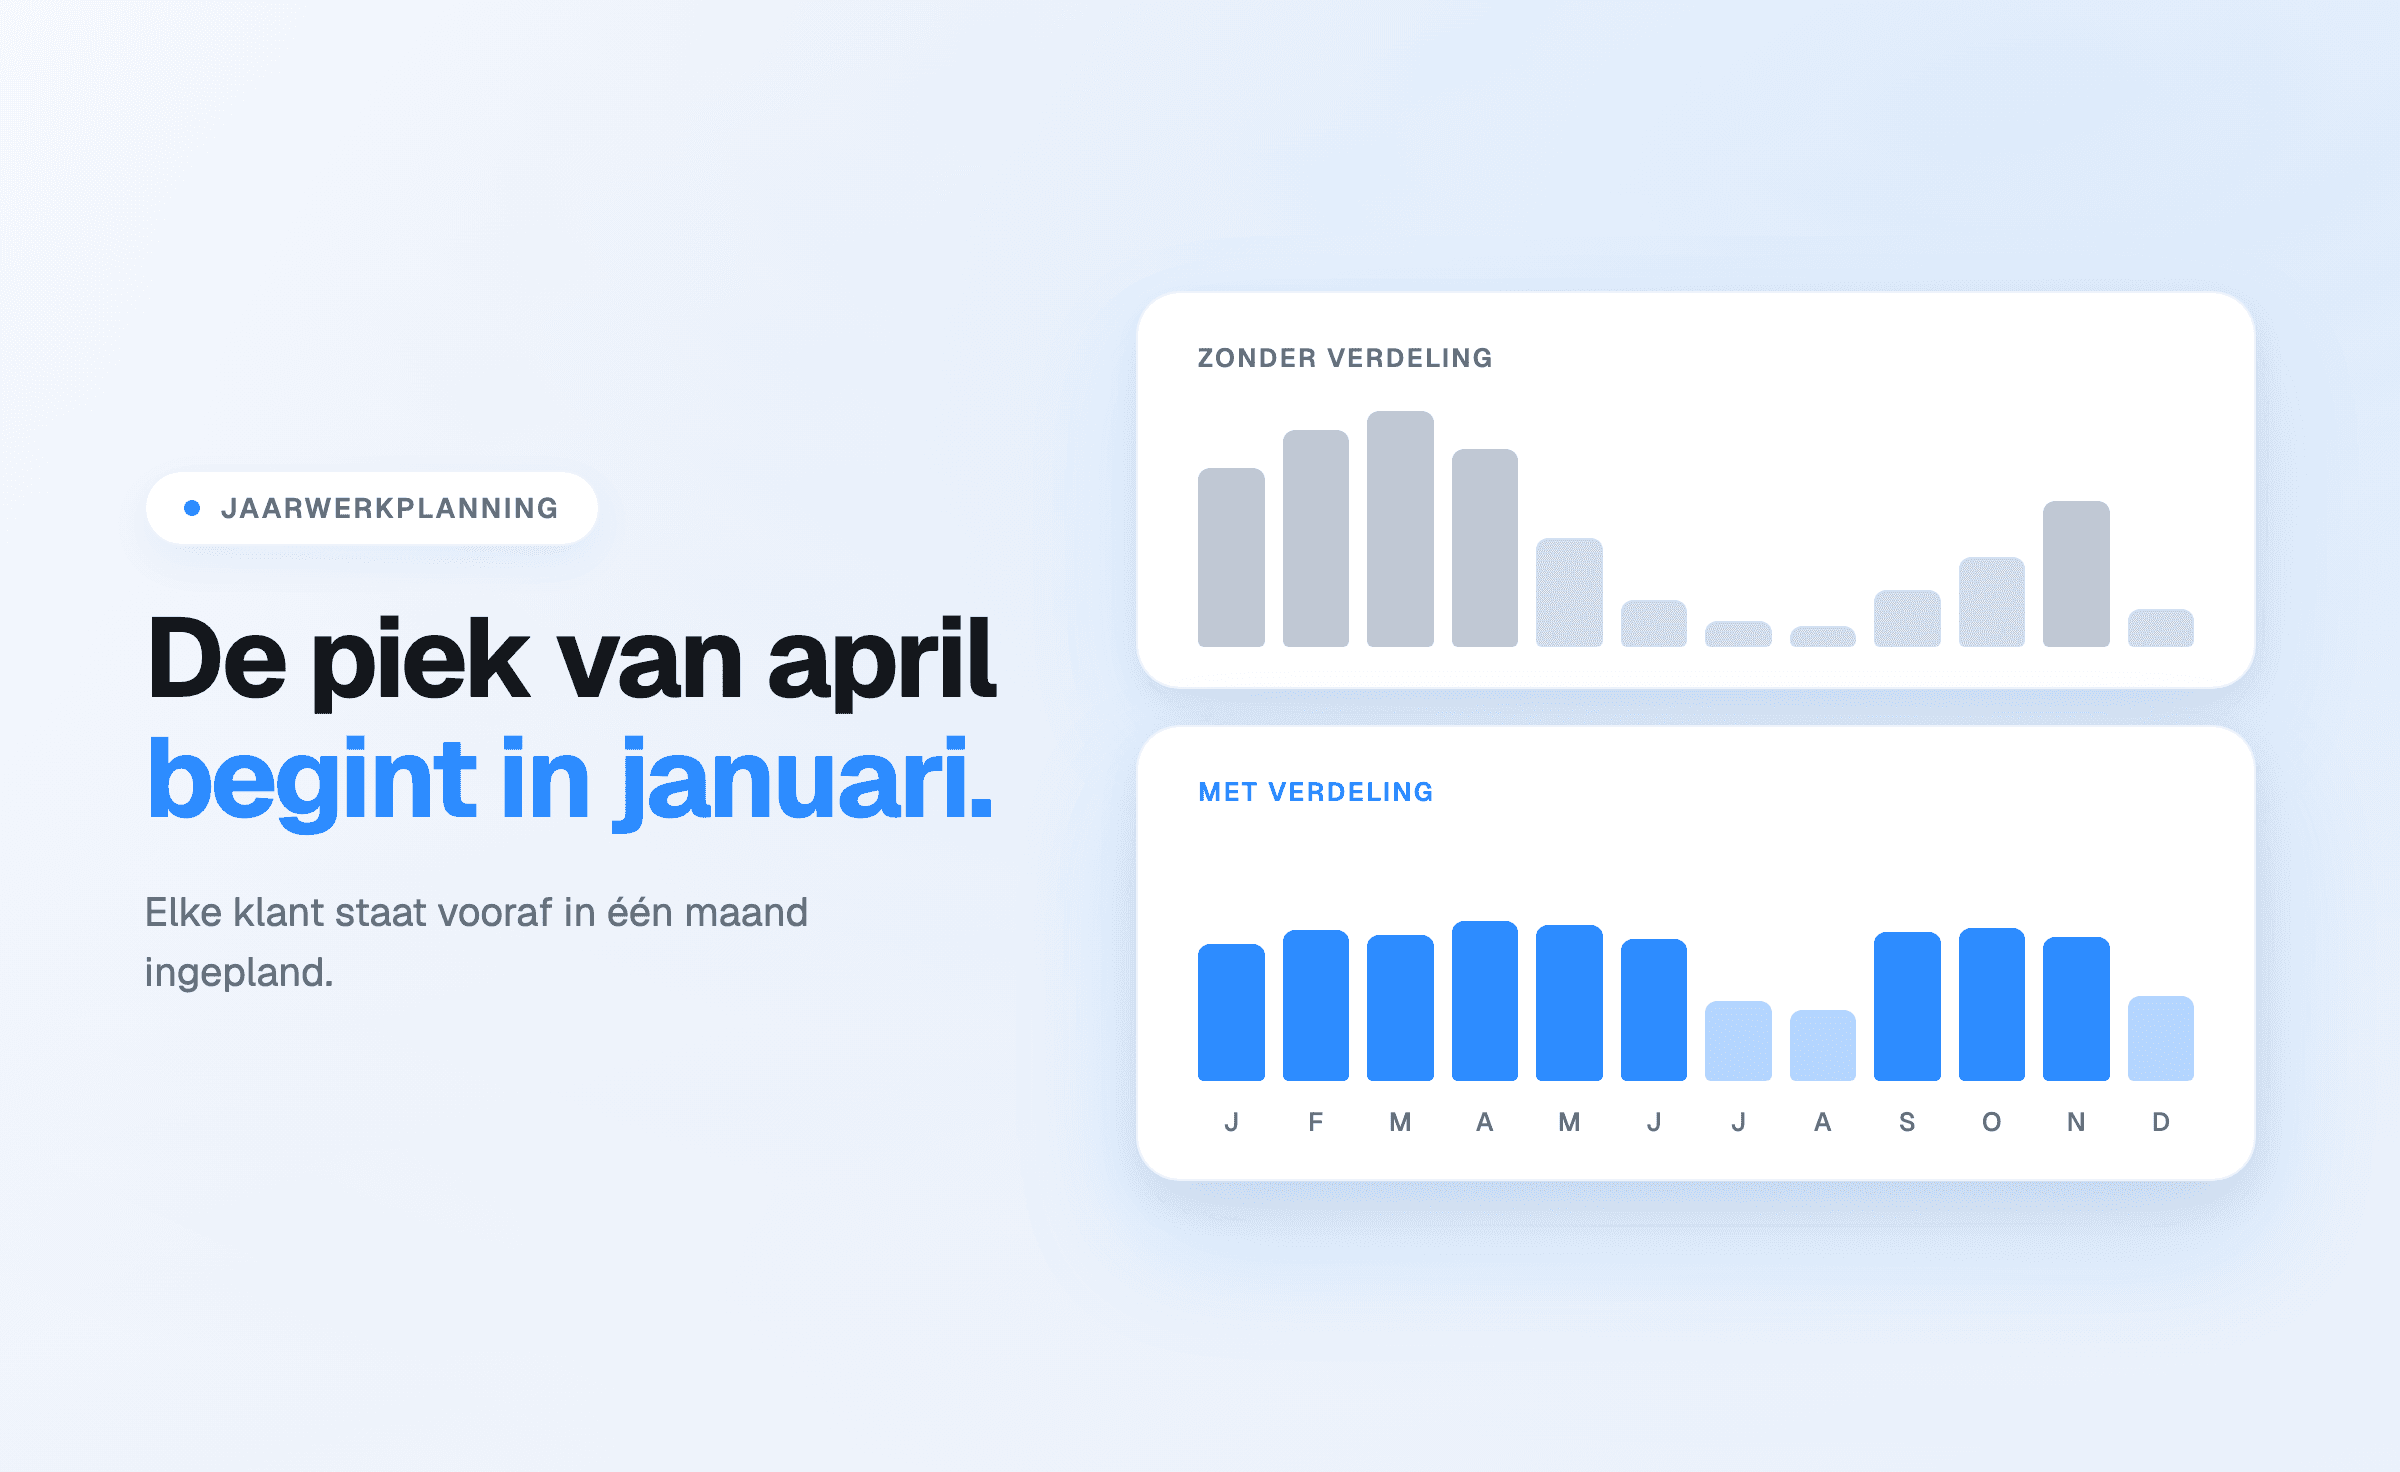
- In the annual planning, a month or week is chosen for when the work is scheduled.
- Hours can be attached to every activity, which produces insight into how work is distributed
across employees and across the year.
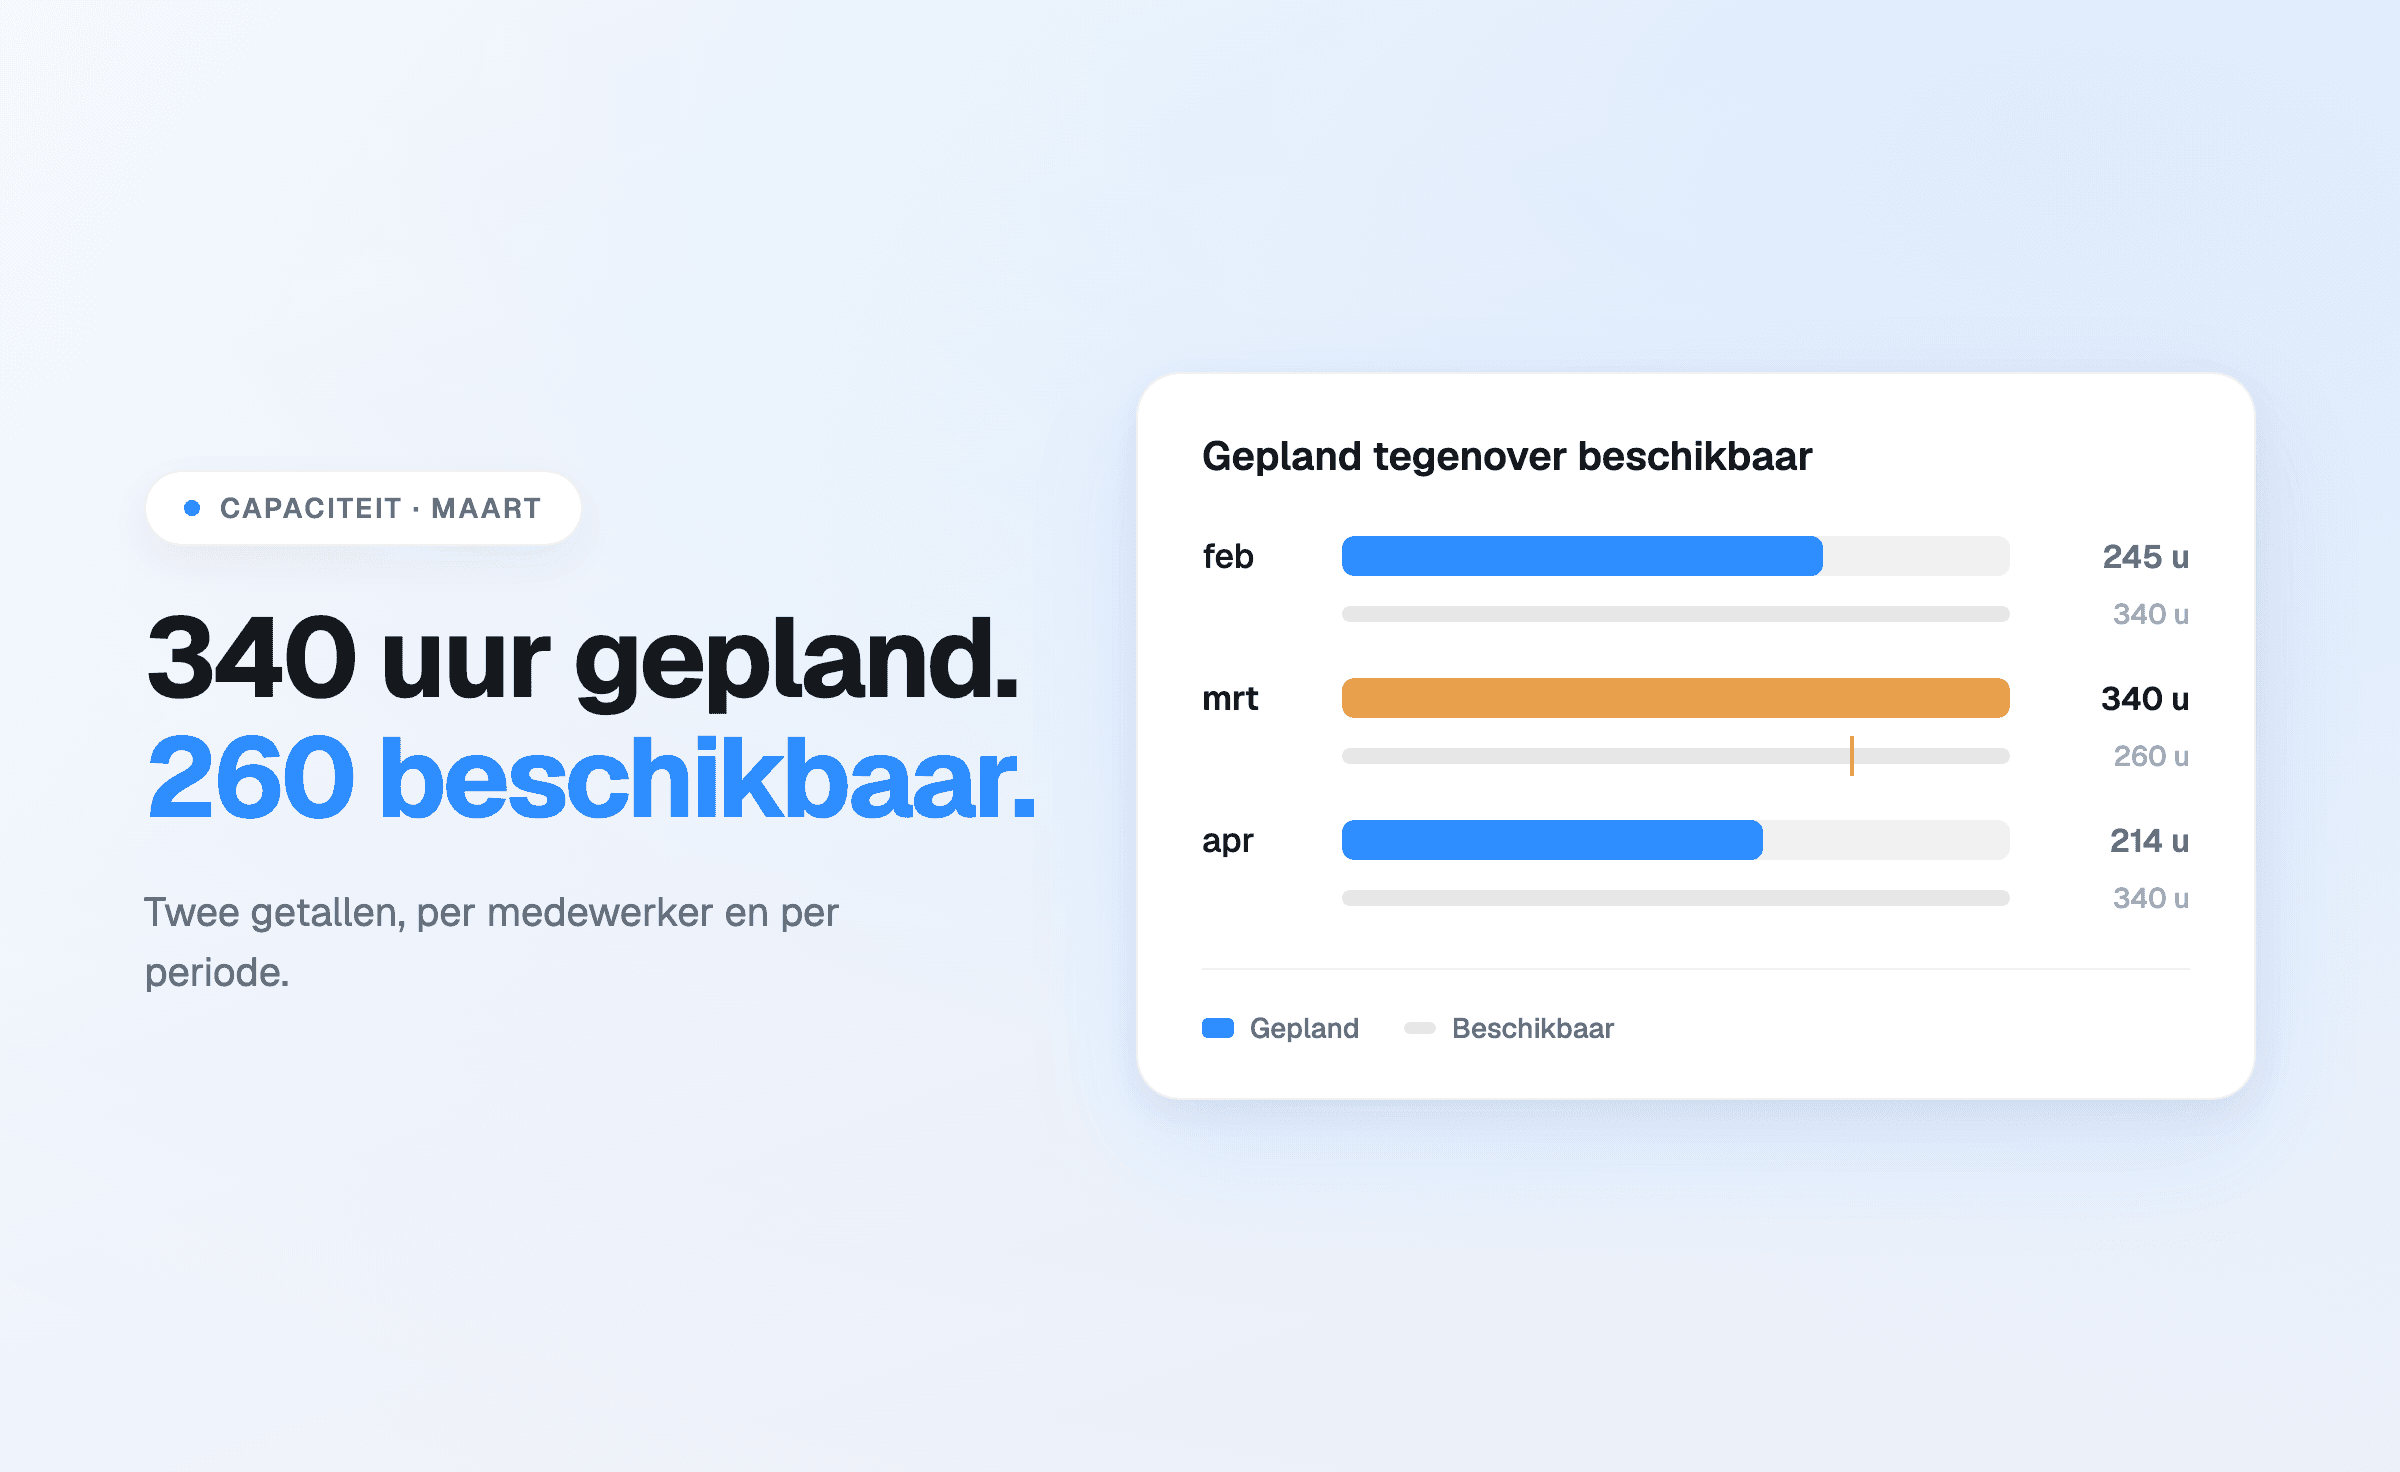
That last one is the step most often skipped and the one that delivers most. Without hours the
planning is a list; with hours it is a capacity plan.
Needed: the distribution across assignees and an hours estimate per activity. Time: one to two
hours.
What comes after that
With these four steps the planning is filled and the firm is working with it. What follows at its
own pace: putting time tracking into use, completing the client file with contacts and
arrangements, and installing the mobile app for work away from the office.
The best moment to switch
The quietest month. Switching during the year-end peak or just before a filing deadline makes it
needlessly heavy — not because setup takes long, but because the first period in new software
always runs slightly slower. That effect usually lasts one period.
Firms currently planning in a spreadsheet have done most of the groundwork already: the client list
and the distribution exist. What changes is that they no longer have to be maintained by hand. The
difference is described in Offsoo vs Excel.
Start a free trial or book a
demo first to go through the setup together.